If you really love the 1940s and 50s vintage style, curled and sculpted hair is a must. The process for achieving those classic looks, however, can be kind of intimidating. After years of researching and binge-watching YouTube videos, I finally took the plunge in January and got a Middy haircut. The Middy is a “U”-shaped, blunt-layered cut that was popularized during World War II. When you think of classic Hollywood starlets like Marilyn Monroe or Rita Hayworth, this is the haircut they had. The length of the hair can vary, but ultimately the cut is the same shape.
To get my new Middy to get those swoopy, magical curls without intensely damaging heat, I had to learn how to do a wet set. This is essentially curling your hair using some kind of roller and letting your hair dry while being held in the curl shape. This also creates a foundation to maintain your curls for several days in a row. Typically I wet set my hair at night before bed, brush out and style in the morning, and then re-roll my hair for the following 2-3 days with pin curl clips.
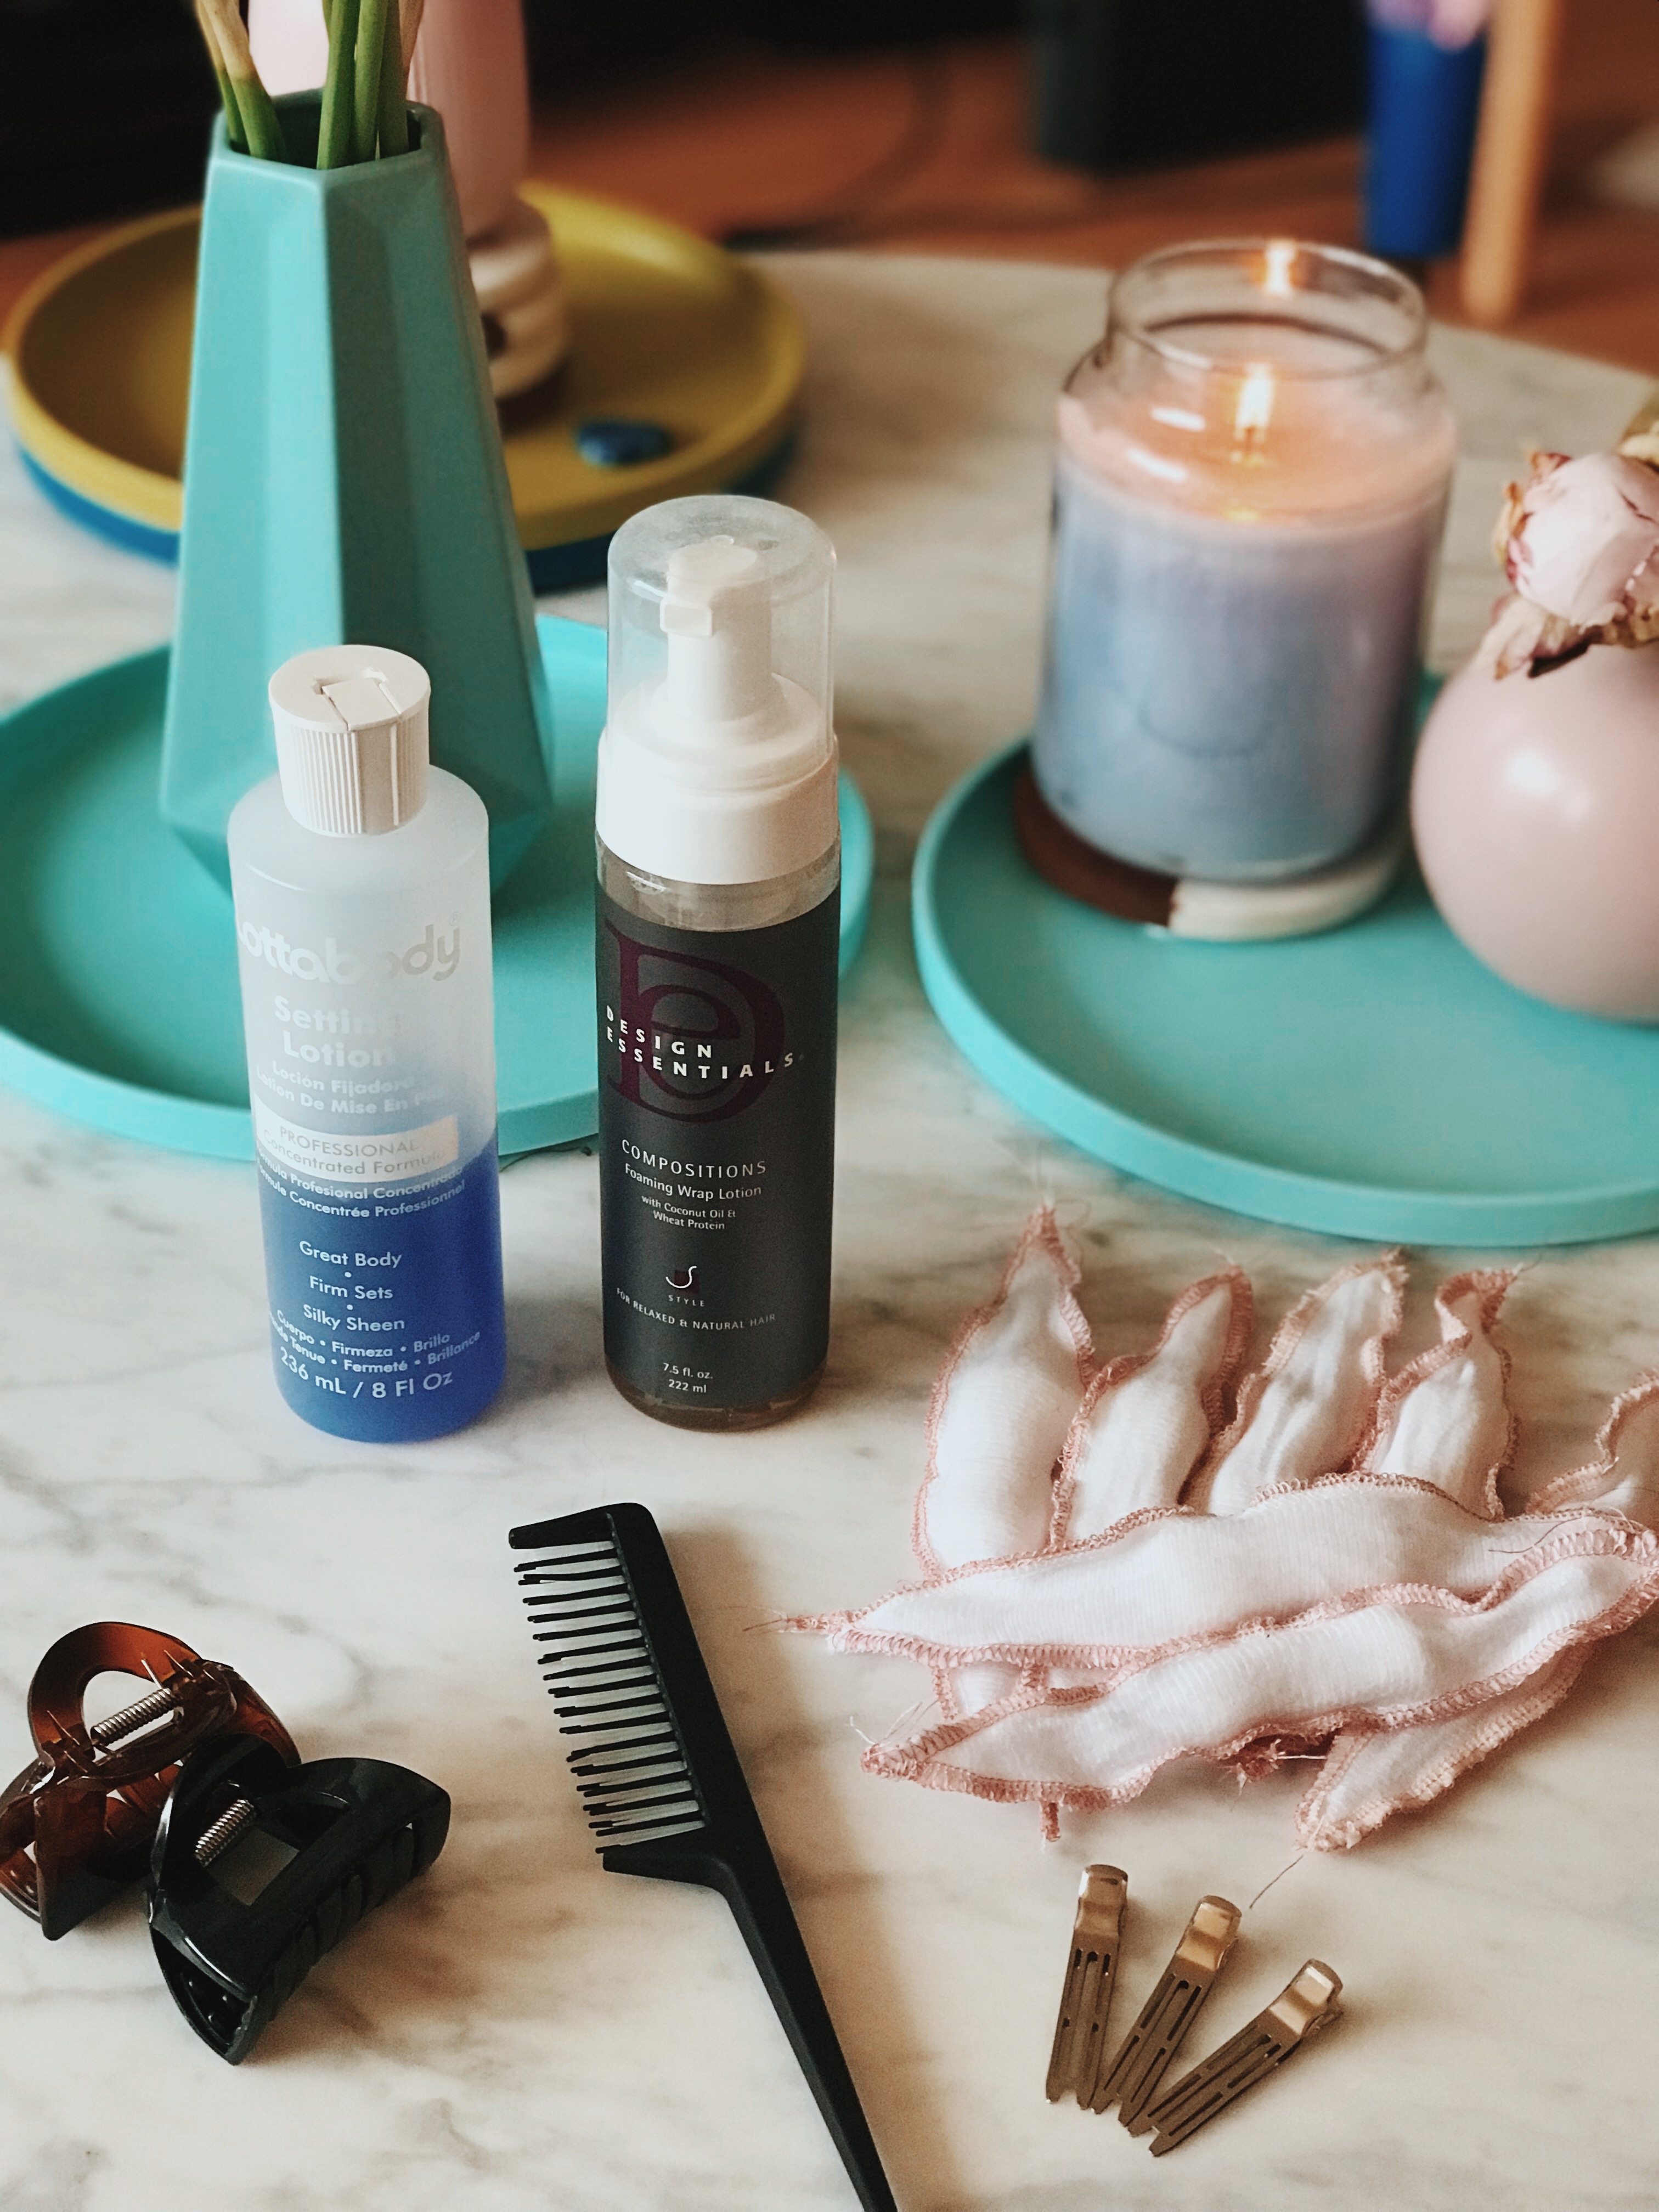
Having the right tools for the job makes wet sets so much easier. Here’s what I use:
- 2 sets of Conair pillow rollers
- Rat-tail comb
- Hair claw clips
- Setting lotion like Design Essentials Foaming Wrap Lotion or Lottabody (optional, but highly recommended!)
- Pin curl clips (optional)
- A scarf or sleep bonnet
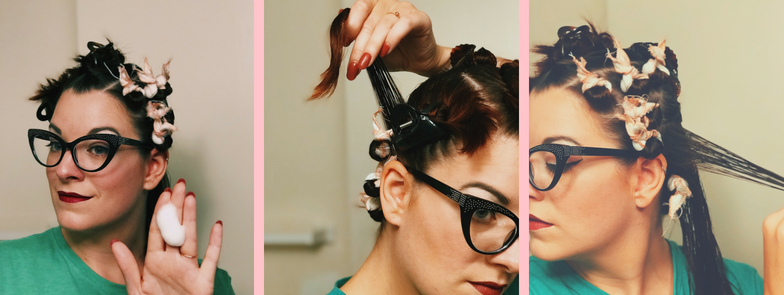
To get started, you need clean and damp hair. The term “wet set” is kind of a misnomer. Your hair should be kind of like a washcloth that you’ve wrung out really well and doesn’t drip when you hang it up to dry. Here’s my hair freshly washed (and my bronzer not yet blended…oops!) :

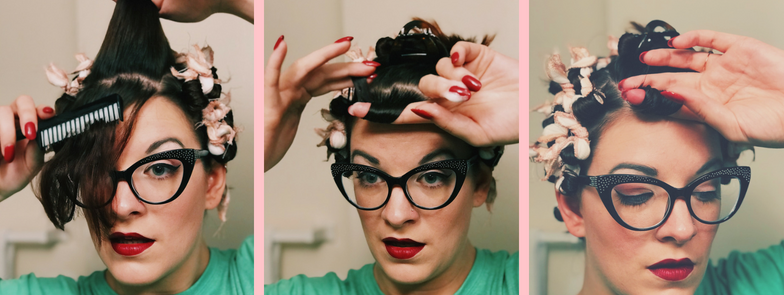
The first step in the wet set is sectioning your hair into manageable parts. For me, I prefer to get my proper part right before anything else. Then I separate my hair into a back section, two sides, and the top. I use the end of the rat-tail comb to create the sections, and the claw clips to hold everything in place.
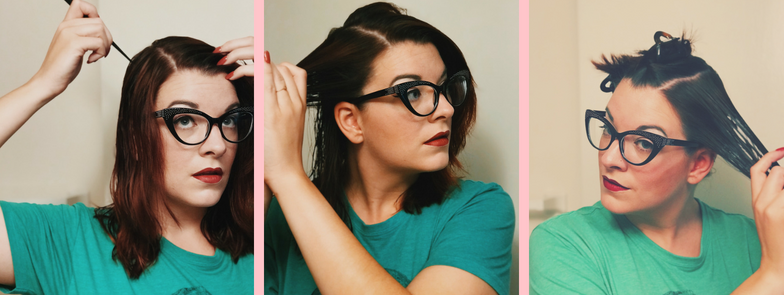
The next step is to start curling with the pillow rollers. (You might note that mine has a pink thread on the edges. This is because I’ve been using them for so long that the wires inside the pillow rollers started poking out. My mom kindly fixed this for me by running them through her serger.) There are two tricks to this: 1) Getting relatively even sections of hair for each roller, and 2) Rolling the hair flat like a ribbon.
Take one of your large sections, and break it into smaller parts. I started on the left side of my head and broke the section into two sections. I apply a teeny pump of my setting lotion the hair I’m about to roll and make sure there are no tangles. Then I roll the hair (again, flat like a ribbon) UNDER. Don’t roll too tight–just enough to hold the curler secure. Once the roller is flat against your head, twist the ends together.
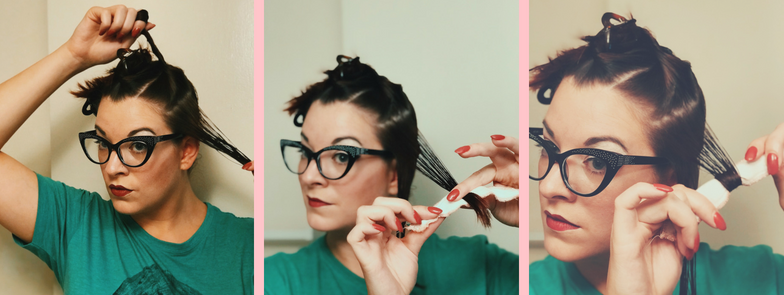
For the sections of hair on the sides and back, you always roll down and under. This means that your hair will curl toward the face and neck, rather than away. Seriously, we don’t want to look like Carol Brady here. You’ll know you’re doing it right if you always start the roller underneath the piece of hair you’re rolling.
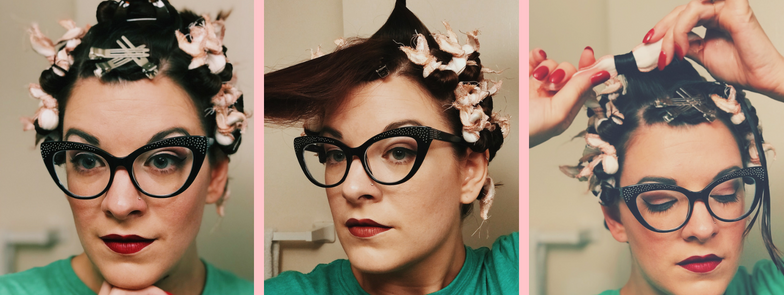
As you go along, your hair might dry a bit. That’s okay. For each section, I add the setting lotion at the beginning, but also put a little water on my comb to make sure the ends are damp. This helps make rolling those little ends easier, as well as ensuring a nice curl in the morning.
Wet sets are a great way to get an arm workout. I’ve definitely noticed my arms getting more toned. Doing the back of your head particularly helps build those biceps.
Honestly, this process is kind of soothing.
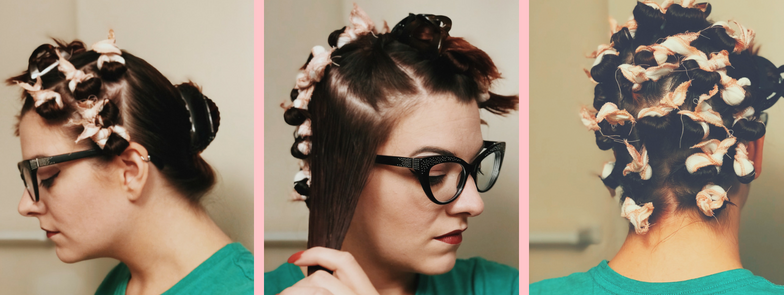
Once you’ve got those sides and back of your head done, you should be extremely proud. You’re in the home stretch!
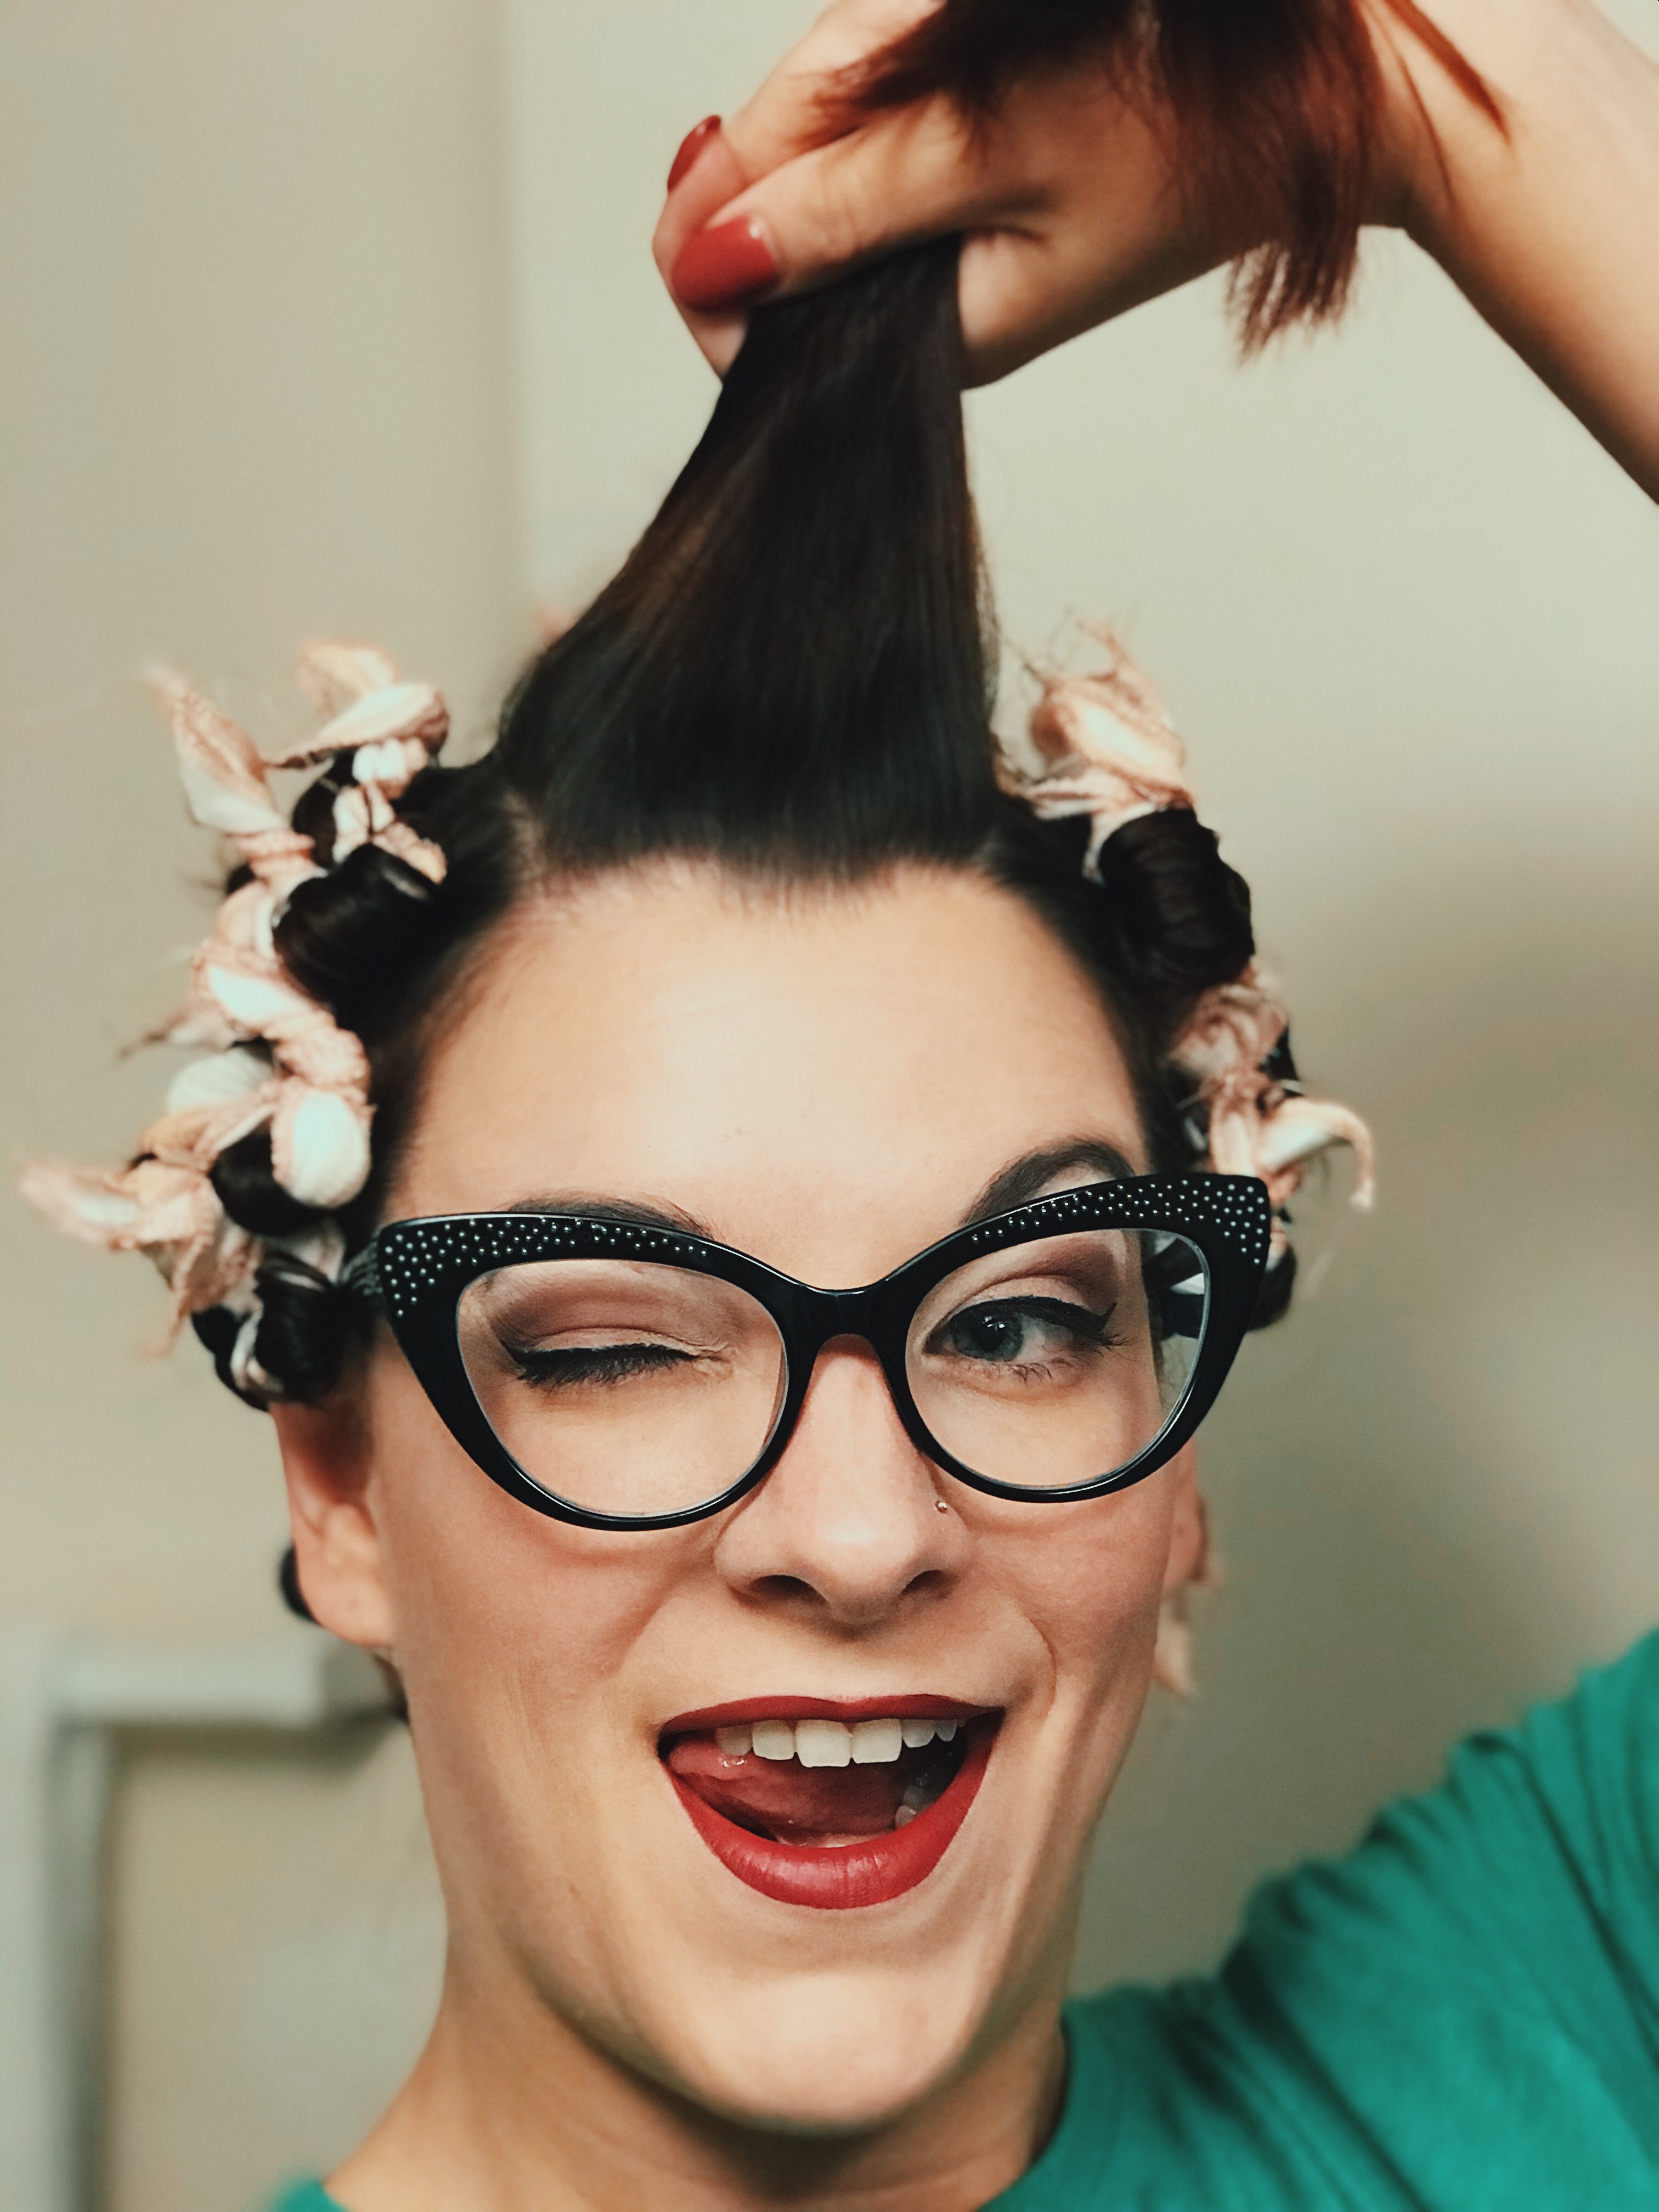
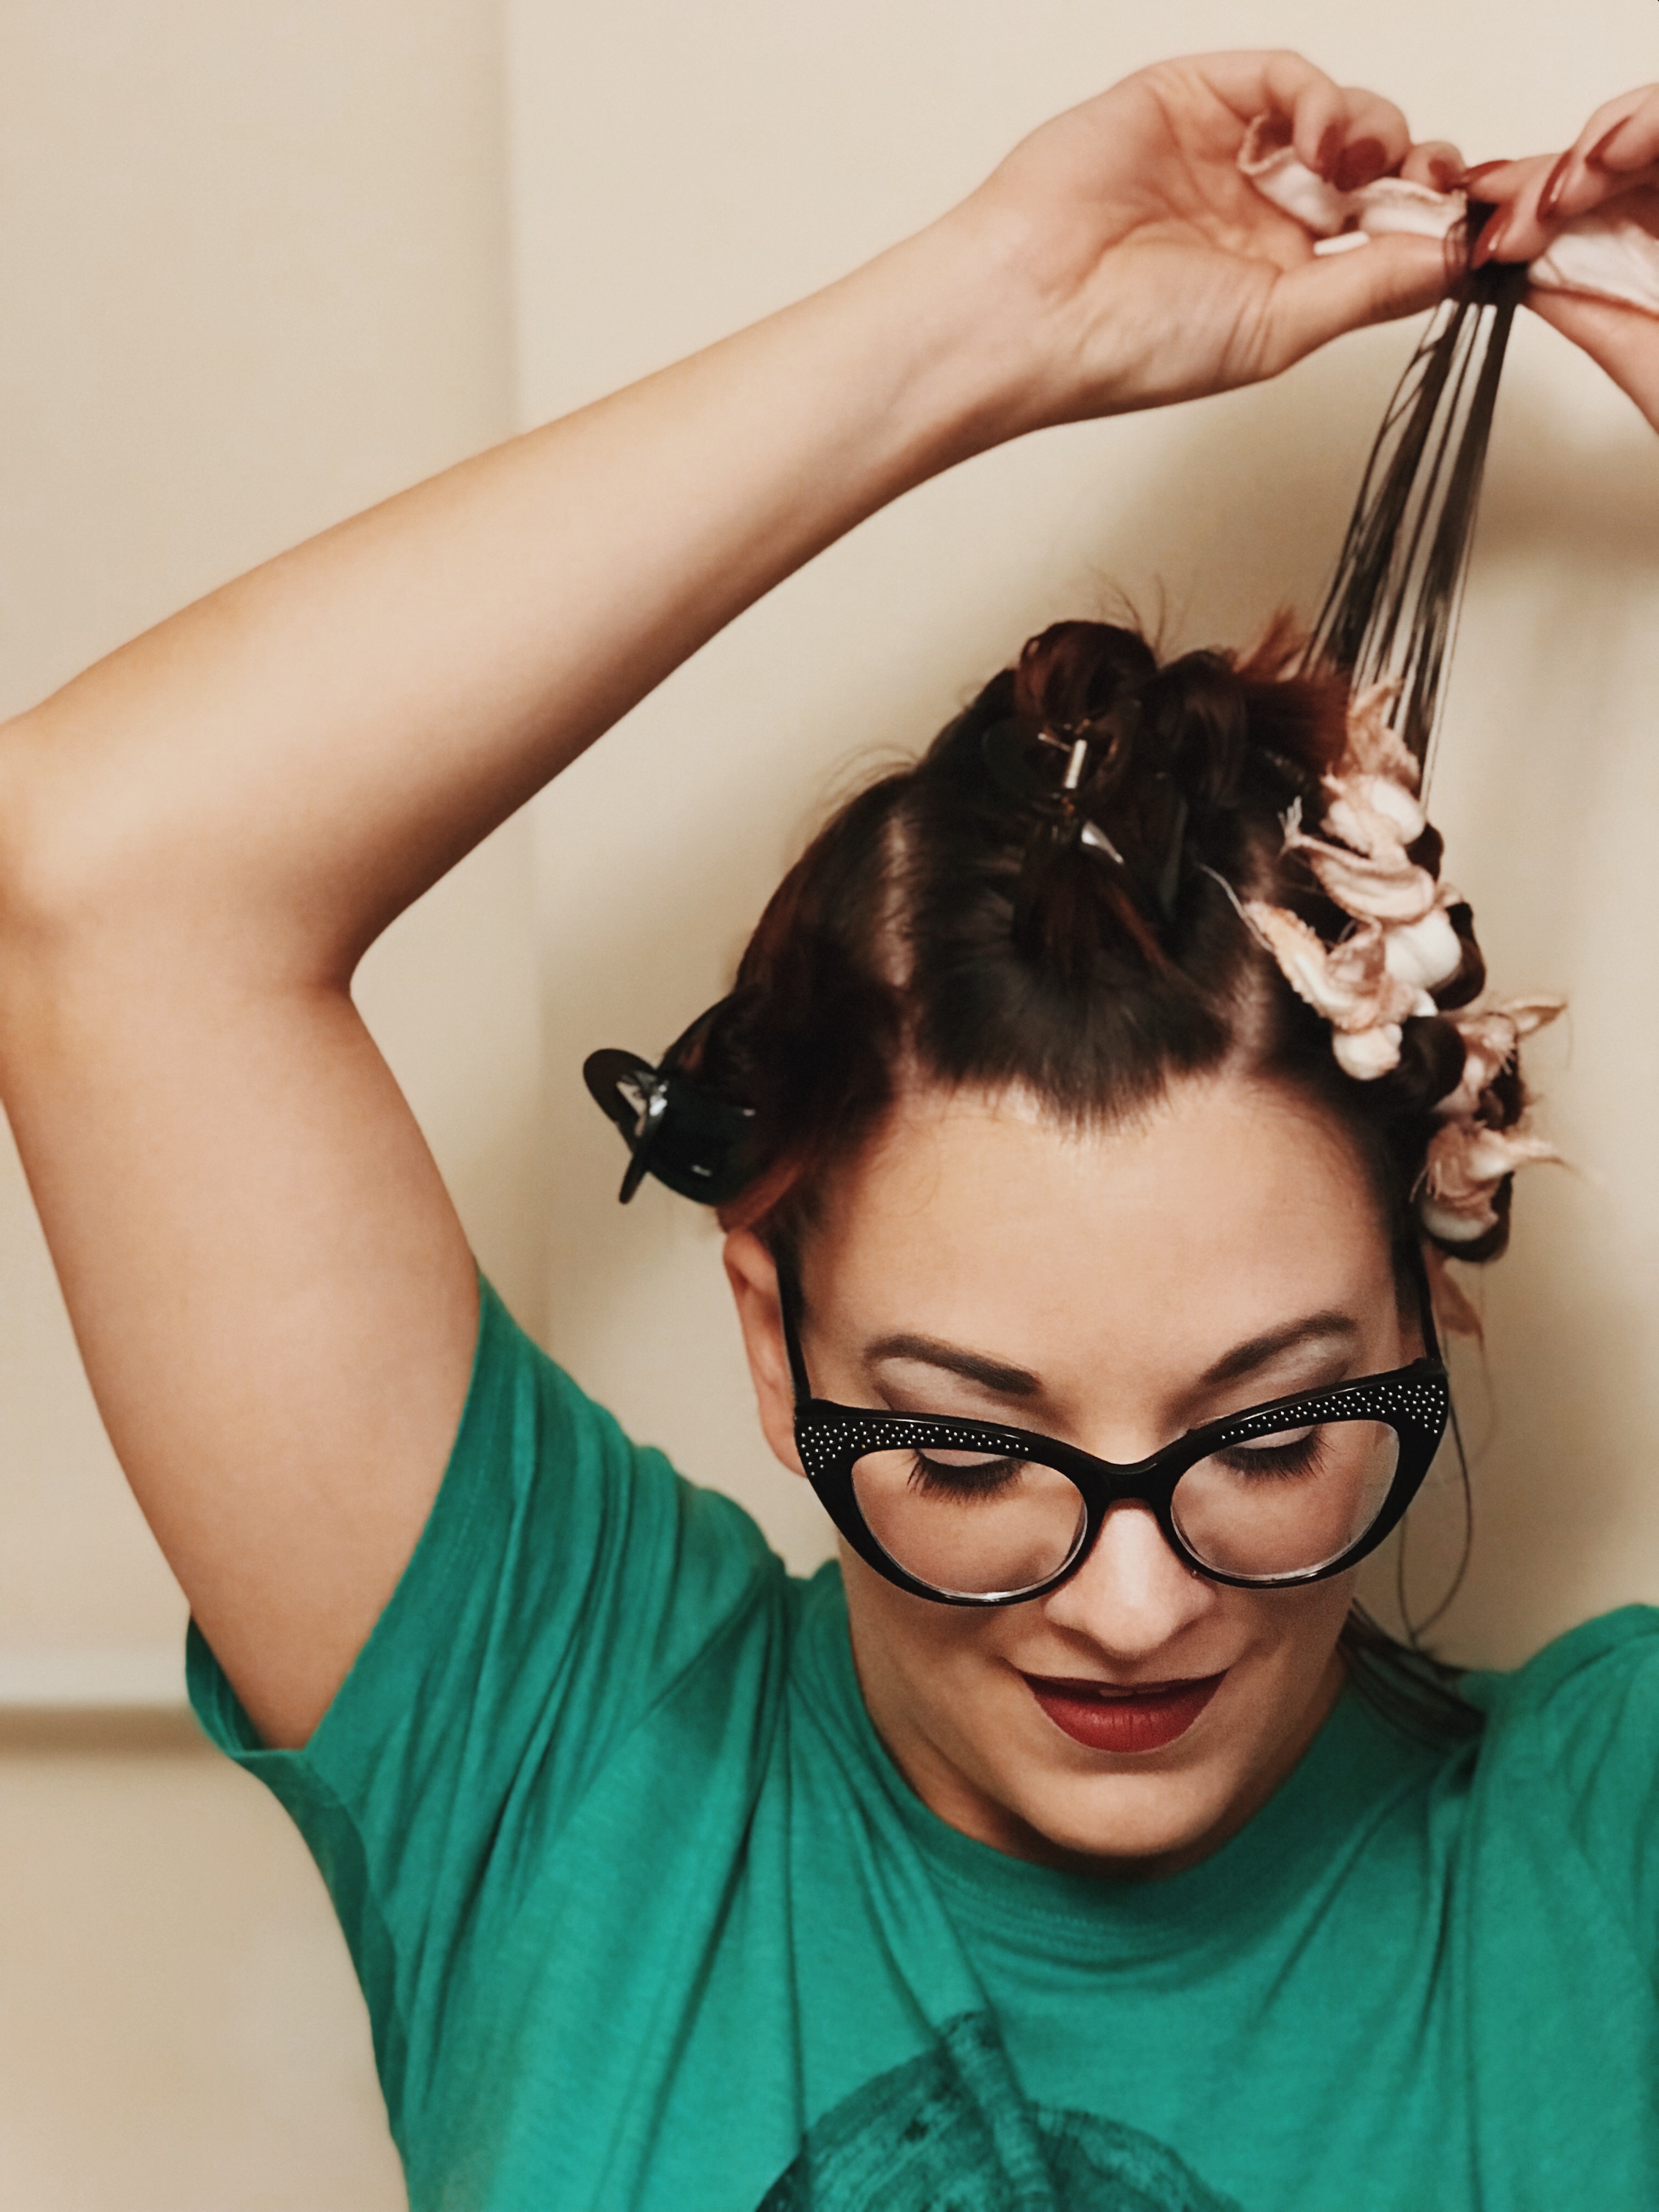
Since I have bangs that are still growing out and don’t quite fit into a curler, I do a special little trick with my pin curl clips. I get them separated from the rest of my hair and use setting lotion on the whole thing. Then I wrap all of my bangs around my pointer finger until there’s no hair left. Carefully, I pull the curled hair off my finger with my other hand and hold the curled section flat against my widow’s peak. Then I use pin curl clips to hold everything into place.
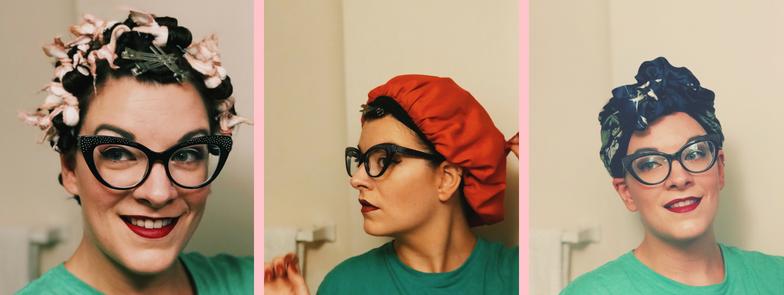
The top section of hair is rolled FORWARD toward the face. I separate the sections into three long sections and continue the process the same way as the rest of my head. You know you’re putting the curlers in right if the curler is in front of the hair and fully visible in the mirror before rolling.
Once you finish putting all your hair in rollers, you’re now done! When I do this at night, I typically wear a sleep bonnet. My favorite ones are this orange satin kind that I typically find by the hair brushes at Target. Of all the products I’ve used to wet set or pin curl my hair, pillow rollers with a satin bonnet are by far the most comfortable to sleep in. Since I did this set in the middle of the day and am planning on seeing a friend for dinner later, I opted for a scarf.
Tying a scarf is super easy. I use an oversized version that is 35″ x 35″, and fold it into a triangle. With the widest edge on the back of my neck, I tie the two ends together, making sure the middle section is below the tie. Then I flip the middle part back and tie once more into a little bow. The nice thing about this is that you don’t have to be perfect with it–just get the ends outta your face.
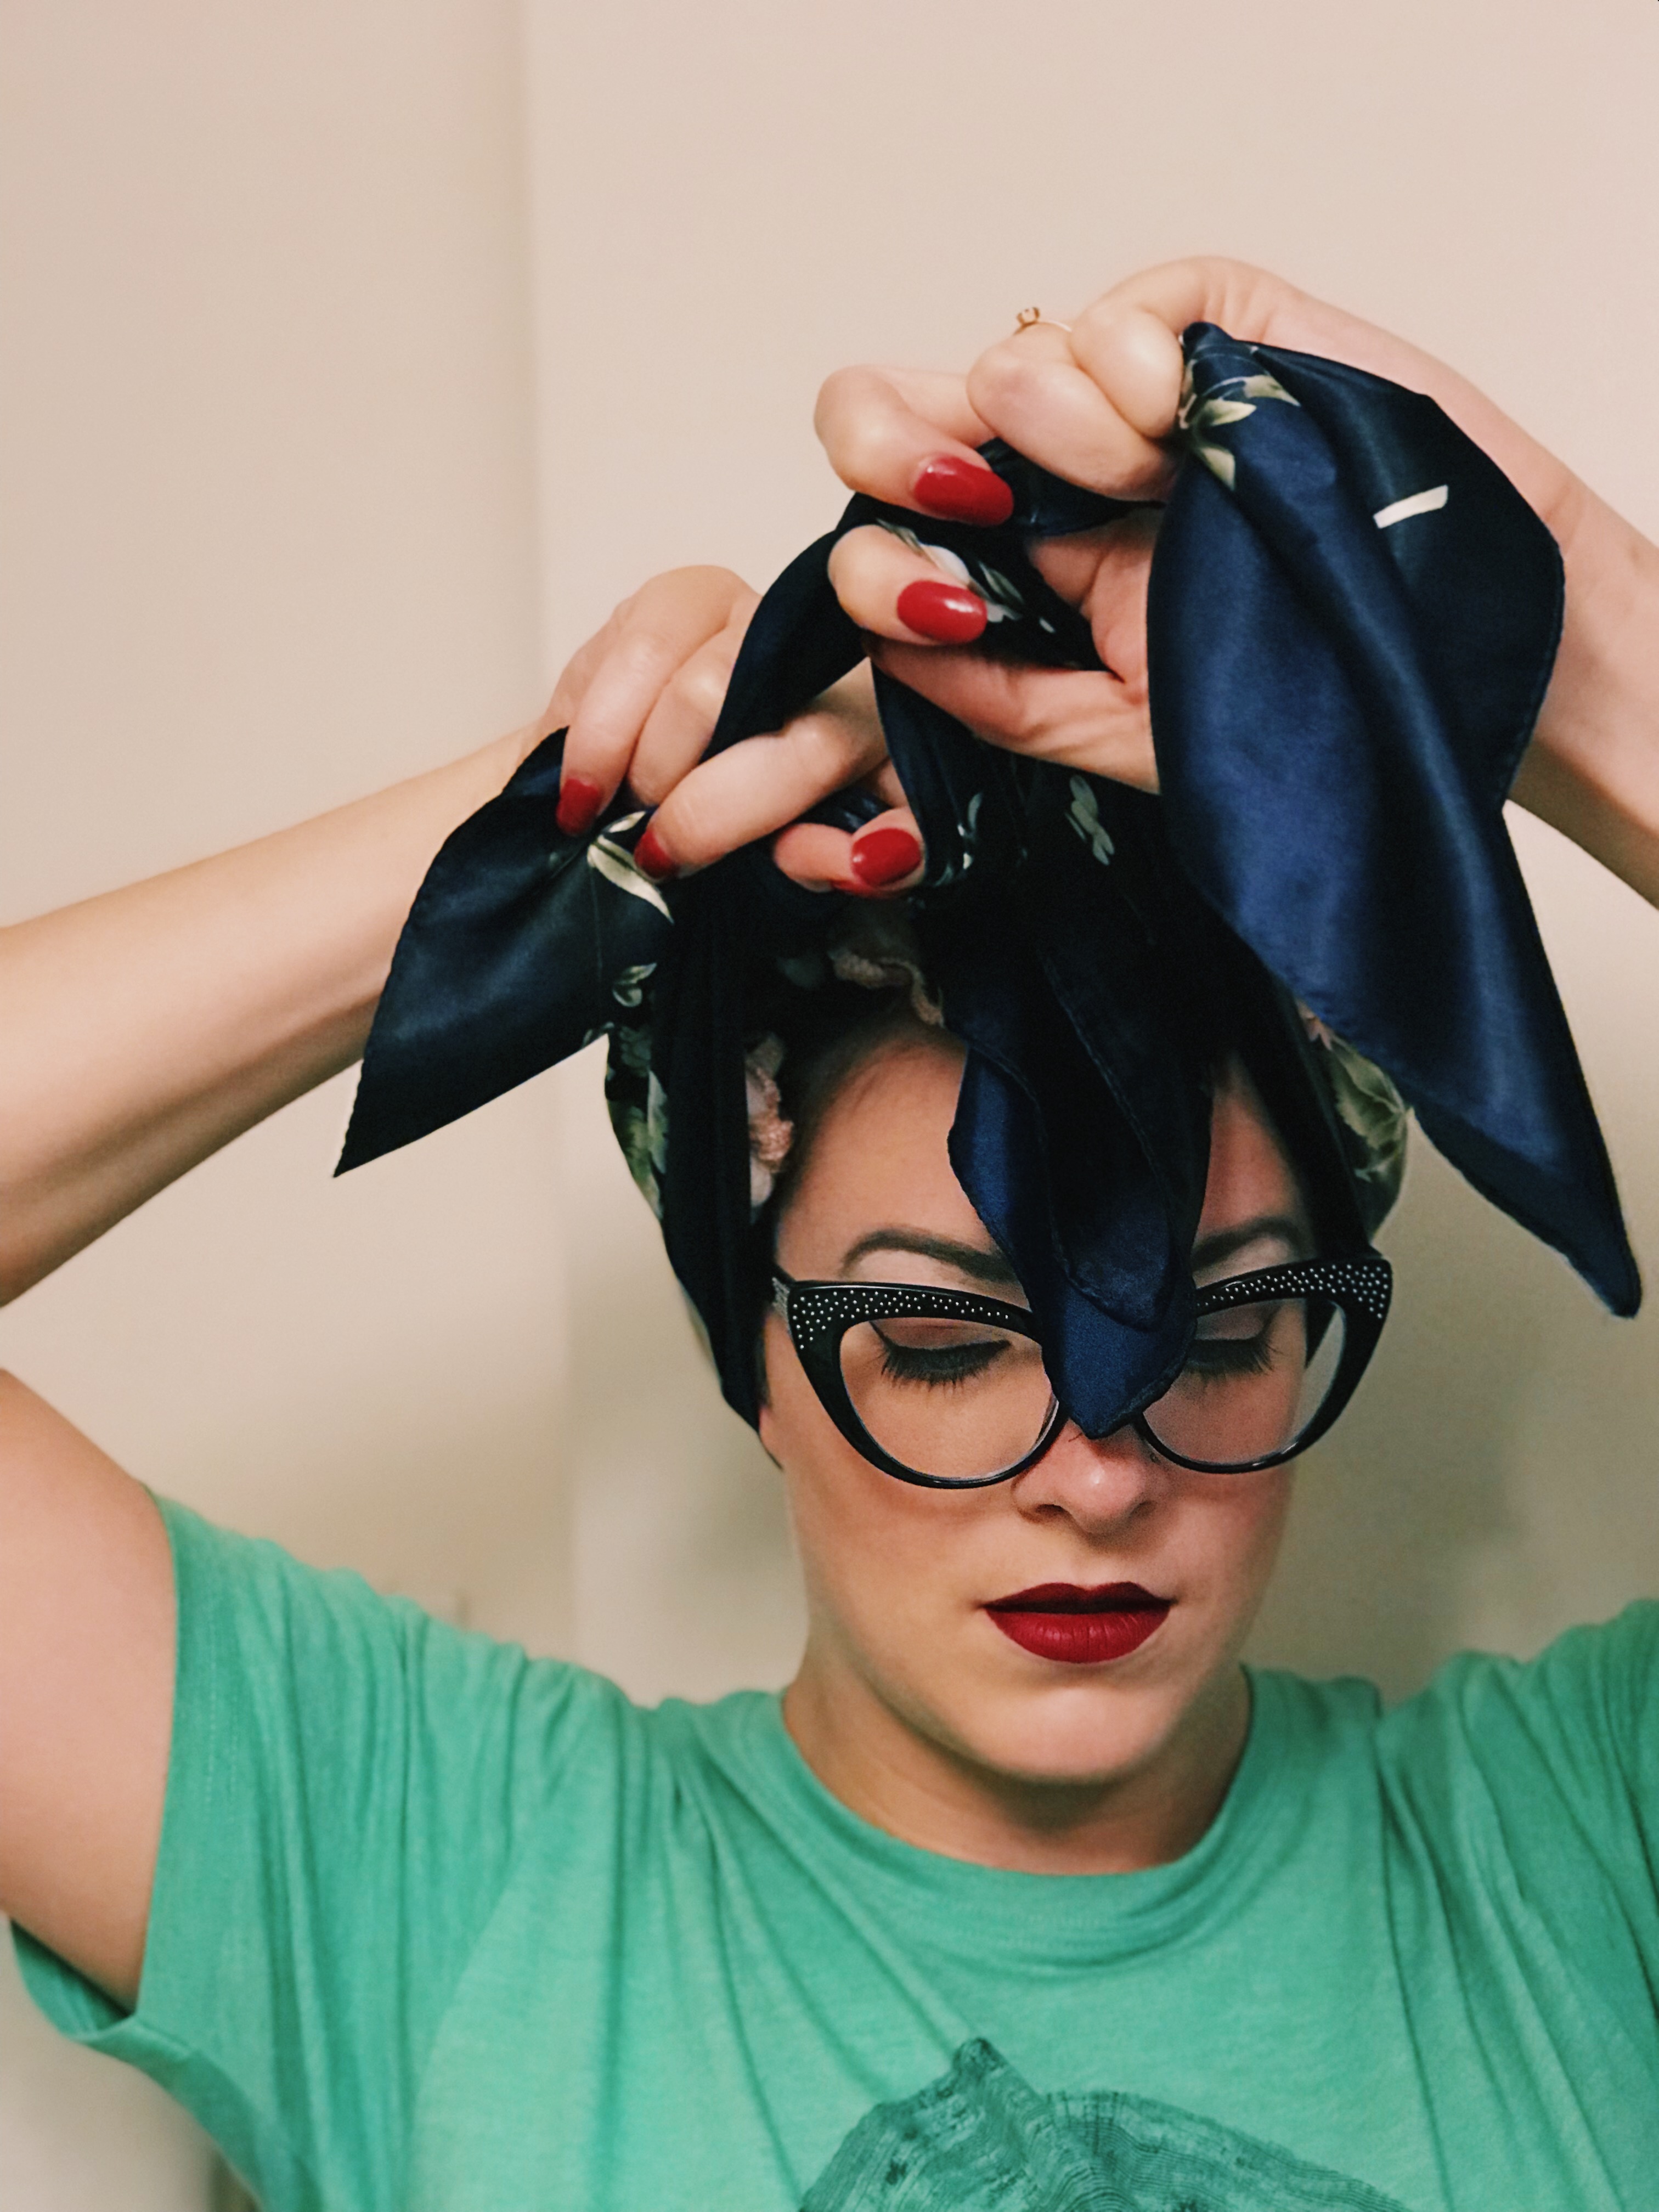
When your wet set is dry (usually overnight for me), you’ll undo the scarf and brush out all the curls. As a follow up to this post, I’ll share some tips on how I do a brush out and style, but until then you can check out my hyper-lapse Instagram post on a brush out.
I hope this post inspired you to take on a vintage style or set. Got questions? Let me know in the comments below!
Love,
![]()
Leave a Reply